
577 words
3 minutes
How to Test Angor: A Step-by-Step Guide
Introduction to Angor Testing
Angor is a decentralized crowdfunding project leveraging the security of Bitcoin and the transparency of Nostr. Investors’ funds are released in stages through time-lock contracts, and unspent funds can be recovered at any point (recovered funds may incur a penalty). Testing Angor involves verifying these processes and ensuring the platform works as intended.
Step-by-Step Guide to Testing Angor
Step 1: Initial Setup
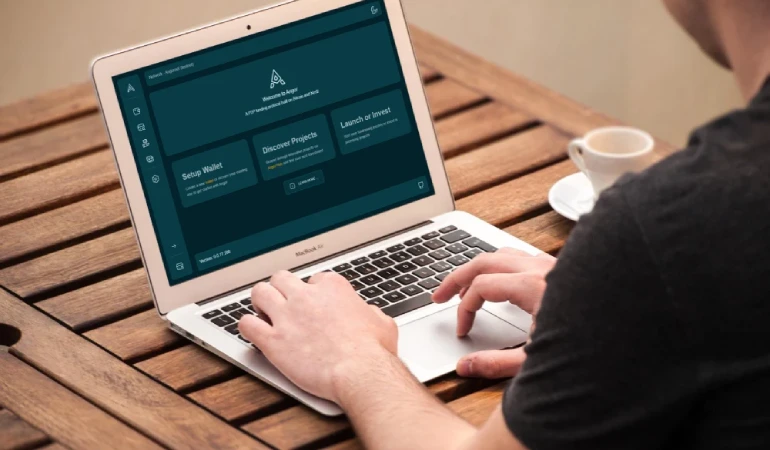
1. Create a Wallet on Angor
Steps:
- Sign up on the Angor platform.
- Navigate to the wallet creation section.
- Click on “Create Wallet.”
- Angor will automatically set up the wallet for you.
2. Obtain Test Coins
Steps:
- Go to the test coins section.
- Click on “Get Test Coins.”
- The test coins will be added to your newly created wallet.
Step 2: Testing the Investment Process
1. Choose a Project
Steps:
- Browse the available projects on Angor.
- Select a project to invest in.
- Review the project details and milestones.
2. Make an Investment
Steps:
- Navigate to the chosen project’s page.
- Click on the “Invest” button.
- Enter the amount you wish to invest in the provided field.
- Click “Submit” to confirm the transaction.
- Wait for the founder to approve (this is a manual process by the founder).
- Wait for the transaction to be confirmed on the blockchain. This may take a few minutes.
3. If you are testing as the founder and investor
- Go to the project page and approve the investment.
Step 3: Creating and Managing a Project (For Founders)
Create a New Project
Steps:
- Navigate to the “Create Project” section on Angor.
- Enter the project name, description, and goals.
- Define the project milestones and the corresponding time-lock contracts.
- Upload a banner image to make the project page more appealing.
- Click “Submit” to create the project.
Post Project Updates on Nostr
Steps:
- Export the private key from Angor.
- Import the private key into a Nostr client.
- Post updates on project progress and milestone completion on Nostr.
- Ensure updates are clear and informative for investors.
Spend Funds for Milestones
Steps:
- As a founder, once a milestone is reached, sign the transaction to spend the funds for that milestone.
- Ensure the spending aligns with the milestone requirements and project goals.
Step 4: Testing Milestone Verification and Fund Release
1. Monitor Project Progress
Steps:
- Regularly check the project updates on Angor.
- Monitor the project’s progress and milestone completion status as reported by the project owner.
2. Review Milestone Status
Steps:
- When a milestone is due, check the milestone status update provided by the project owner on Angor.
- Ensure the reported progress aligns with the expected timeline and requirements for the milestone.
3. Release of Funds
If You Are the Founder:
- As the project founder, spend the first milestone funds by signing the transaction.
- Verify that the funds are released according to the time-lock contract once a milestone is reached.
As the Investor:
- Wait for the project founder to approve the investment and release the milestone funds.
- Verify that subsequent milestone funds are released according to the time-lock contract as each milestone is reached.
Step 5: Testing Fund Recovery
1. Initiate Fund Recovery
Steps:
- If a project fails to meet its milestones, go to your project dashboard.
- Click on the recovery option.
- Initiate the fund recovery process.
2. Receive Recovered Funds into Penalty
Steps:
- Confirm the recovery transaction.
- Check your funds are locked in the penalty (it will show how many days are left to recover the funds).
3. Receive Funds out of Penalty
Steps:
- Wait till the penalty expires.
- Move your funds out of penalty to your wallet.
Step 6: User Experience and Feedback
1. Evaluate User Interface
Steps:
- Navigate through the Angor platform.
- Assess the user interface for ease of use, design, and functionality.
- Ensure all features are accessible and intuitive.
2. Submit Feedback
Steps:
- Use the Angor repository on GitHub to submit your feedback as issues.
- Suggest improvements or provide general feedback.
- Check for a response or acknowledgment from the Angor team.
- Join our Discord or Telegram to discuss more and ask questions.
How to Test Angor: A Step-by-Step Guide
https://blog.angor.io/posts/how-to-test-angor/